How to Season a New Clay Ketsi Before First Use
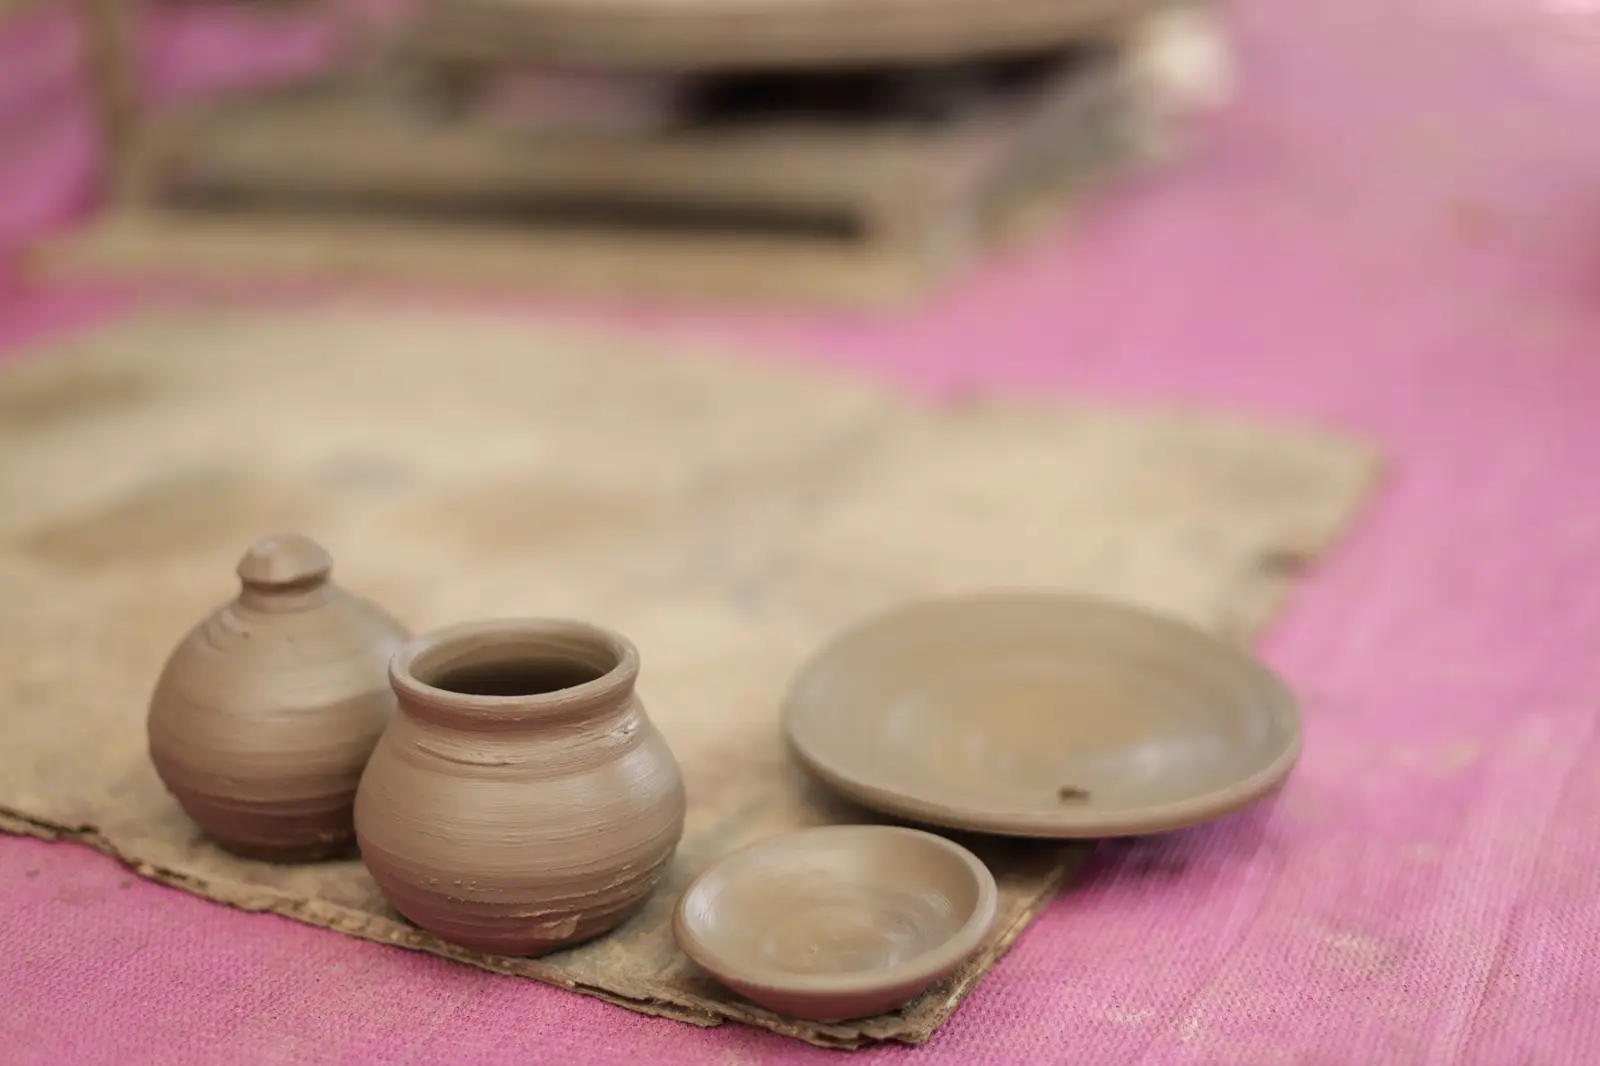
Clay cookware has held a special place in Georgian cuisine since ancient times. A ketsi is far more than a simple traditional pan; it is a living vessel that distributes heat evenly, locks in rich juices, and lends dishes an unmistakable flavor. From mushrooms with melted sulguni and garlicky shkmeruli to piping-hot lobio, clay cookware brings out the very best in these recipes. However, if you purchase a brand-new, unglazed ketsi from a market and place it straight onto an open fire, it will inevitably crack or impart an unpleasant earthy taste to your food.
To ensure your cookware lasts for decades, it requires proper seasoning—a traditional technique known in Georgia as gamotsva. In this guide, we break down step by step how to prepare brand-new earthenware for its first use.
How Much Does a Clay Ketsi Cost in Georgia?
In Georgia, clay cookware is readily available at local bazaars as well as historic pottery hubs. The price of a ketsi generally depends on its diameter and craftsmanship:
- Small ketsi (diameter 16–18 cm, ideal for individual servings): 15–20 GEL.
- Medium ketsi (diameter 20–24 cm, standard family portions): 22–28 GEL.
- Large ketsi (diameter 26–30 cm, best for hearty meat dishes): 30–40 GEL.
Whenever possible, opt for unglazed, natural red clay free from cracks or surface defects. While glazed pottery requires less initial maintenance, it lacks the signature heat retention and rustic aroma that define authentic Georgian clay cooking.
4 Essential Steps to Seasoning a Ketsi
Clay is naturally porous. The purpose of seasoning is to saturate these microscopic pores with natural fats, creating a protective non-stick patina that shields the pan from thermal shock.
1. Soaking in Water
Rinse your newly acquired ketsi thoroughly using warm water and a soft brush, without any soap or detergents. Next, submerge it completely in a deep bowl or sink filled with cold water and let it soak for 12 to 24 hours.
During this time, the clay absorbs moisture, pushing out trapped air and making the material more pliable, which significantly lowers the risk of thermal shock upon heating. Once removed from the water, allow the pan to dry completely at room temperature, which takes about 5 to 6 hours.
2. Coating with Fat
Once the ketsi is completely dry, its surface needs to be treated with fat. Traditional pork lard or standard refined sunflower oil works best.
Apply a generous, even layer of fat over the entire interior surface and rim. There is no need to coat the outer bottom, as excess oil there will only create smoke during baking. Let the pan rest for 20 to 30 minutes so the clay can absorb the first layer of fat.
3. Slow Oven Curing
This is the most crucial step, and it should never be rushed:
- Place the coated ketsi into a cold oven. Never put room-temperature clay into a preheated oven, as sudden temperature spikes will cause it to crack instantly.
- Turn the oven on to 100°C (210°F) and hold it for 20 minutes.
- Gradually increase the heat to 150°C (300°F) for another 20 minutes.
- Finally, raise the temperature to 180–200°C (350–400°F) and leave it for roughly one hour. During this stage, the fat will bake deep into the clay's pores and harden.
- Turn off the oven and leave the ketsi inside until it cools down completely on its own.
Once cool, the pan will display a darker, slightly glossy finish—proof that a natural protective seasoning has successfully formed.
4. The First Test Dish
For your first meal after curing, prepare something simple and naturally fatty, such as fried potatoes with onions and pork fat. This initial cook finalizes the protective seasoning and readies the clay for your future culinary creations.
How to Care for Your Ketsi so It Lasts for Years
Proper seasoning is only half the battle; everyday care determines how long your clay lasts:
- Never use chemical dish soaps: Clay is porous and absorbs liquids easily. Liquid detergent will seep into the pores and taint future meals with a chemical aftertaste. Clean your ketsi solely with hot water and a stiff brush or scouring sponge. For stubborn food residue, use baking soda or coarse salt.
- Avoid thermal shock: Never run cold water over a piping-hot ketsi or set it directly onto cold, wet countertops. Always rest it on a wooden trivet.
- Using it on a gas stovetop: If you cook over an open gas burner, always use a heat diffuser underneath the pan to distribute flame heat evenly across the base.
Savor Authentic Clay Cooking in Sighnaghi
In traditional Kakhetian kitchens, a ketsi is often set not over a gas stove, but directly upon glowing grapevine embers. Pruned grapevine wood produces a delicate, aromatic smoke and deep, steady heat that imparts an unforgettable character to every dish.
If you want to experience firsthand how genuine earthenware transforms texture and flavor, visit us in Sighnaghi at Restaurant Okros Lomi. Our sizzling shkmeruli, garlic-herbed mushrooms, rich clay-pot lobio, and skewered Kakhetian mtsvadi pair seamlessly with our house-fermented qvevri Saperavi and Rkatsiteli wines. Reserve a table and immerse yourself in the magic of genuine Georgian hospitality and Kakhetian gastronomy.